 Sendes inden for 1-2 hverdage

 40.000+ tilfredse kunder

 EAN betaling



Fremragende | Baseret på 600+ anmeldelser
BuildTak 3D Print Plade - 165x165mm (Ex. SpiderMaker, P120)
På lager
Leveringstid: 1-2 hverdage
Kunne ikke indlæse afhentning tilgængelighed

Gratis fragt over 399 kr

Nem og billig retur

Kundeservice alle hverdage
BuildTak is a thin, durable plastic sheet that adheres to the print bed of FDM (fused deposition modeling) 3D printers to provide an ideal surface for 3D printing. It replaces the need for blue masking tape and/or polyimide films such as Kapton. Composed of high quality, heat-resistant raw materials, BuildTak provides a stable build platform for 3D printed objects to adhere to while allowing for a clean, easy removal of completed builds.
Installering:
1. Wipe down your bare build platform making sure it is clean and free of debris.
2. Trim the BuildTak sheet to match the size of your build plate (if not already).
3. Remove the white adhesive liner and apply the BuildTak sheet to the bare build plate. Start from one edge of the build plate and work your way to the other edge, smoothing the BuildTak sheet with a credit card or decal applicator.
4. Re-level your surface and ensure that the nozzle height is properly set (usually between .10 – .25mm).
Tips:
To ensure the longevity of the BuildTak sheet, use a spatula or putty knife with smooth/rounded corners. Avoid using solvents, such as acetone, to clean it.
Typically with other build surface solutions, such as blue masking tape or polyimide, a heavy deposit or “smoosh” is used on the first print layers. With BuildTak this is not needed.
BuildTak Offers The Following Benefits
- Works great with ABS, PLA and more without the need to change the surface. And no more pretreatments such as hairspray or acetone slurry!
- Easy installation to the bare print bed and clean removal without adhesive residue.
- Durable and with optimal care can last for many hours of use while providing extended protection to the original print bed surface.
- Creates an optimal bond between the 3D printed object and the build surface for the duration of the print while preventing curling. When builds are complete, the 3D printed object can be cleanly removed with minimal prying or scraping.
- Patent-pending heat resistant composition, developed to withstand the typical temperatures used on heated print beds (i.e. 110-125C). With safety in mind, BuildTak is composed of raw materials that are UL flame rated.
- BuildTak Just Works!
Key Features:
- Works with ABS, PLA, HIPS, PET+, Brick, Wood & Flexible (TPE) filaments; additionally we have had success with getting nylon and t-glase (PETT) to adhere when used with a thin layer of washable glue stick on the BuildTak surface
- Installs much easier than masking tape or films typically used and with fewer chances of air bubbles
- Protects build plate
- Heat resistant and durable, can be reused for many consecutive builds and you can use different filament materials without the need to change the printing surface
- Creates an optimal bond between the 3D printed object and build surface that maximizes the chances your object will be held in place for the duration of the print and then allow for clean and easy removal of the object from the build surface.
FAQ -
Frequently Asked Questions
What is BuildTak?
BuildTak is an ideal 3D printing surface for FFF 3D printers. We believe it offers a superior alternative to using masking tape or heat resistant films (such as kapton) on your FFF 3D printer’s build plate. BuildTak is a proprietary, patent-pending composition that comes in pre-cut, specially textured plastic sheets that adhere to your build platform with its heat-resistant adhesive backing.
Why we think BuildTak is superior over masking tape and heat-resistant films?
–if you have ever dealt with either masking tape or kapton, one of the more common features you will notice is that the BuildTak sheets are more rigid and therefore much easier to install or apply to the bare build plate and much less susceptible to air bubbles getting trapped beneath the surface.
–BuildTak is found to be more durable in nature so it can be more effective in protecting the build plate and with proper use can significantly outlast the typical cycle time of either kapton or masking tape.
–Generally does not require any special treatment or finessing (ie. the use of hair spray, acetone slurry, printing rafts, etc). Once you have the crucial step of setting nozzle height just right, BuildTak just works. Through our experience we find that 3D printed objects stay put on the build surface for the duration of your build with fewer chances of curling. When the builds are complete, we find that builds pop right off with significantly less prying than what you are probably used to using these other alternatives.
–BuildTak works for both ABS and PLA, which means if you are using a printer that can print in either of these materials it is not necessary to change the surface between builds. Heated print beds are not a problem, BuildTak is composed of high quality raw materials and is designed to withstand the high temperatures of a typical FFF 3D printer (i.e. 110-125C heated print bed)
–If/when you are ready to replace the BuildTak sheet, it comes off clean and easy in one piece, leaving no residue behind from the adhesive.
How do I use BuildTak?
1. Wipe down your bare build platform making sure it is clean and free of debris
2. Trim the BuildTak sheet down to the size of your build plate (if not already)
3. Remove the white adhesive liner and apply the BuildTak sheet to your bare build plate. Start from one edge of the build plate and work your way to the other edge, smoothing the BuildTak sheet with a credit card or decal applicator as you go
4. Re-level your surface, making sure the nozzle heights are properly set to the approximate thickness of a standard piece of office paper. The key to a successful BuildTak experience is a level print bed and finding that nozzle height sweet spot!
What are the best practices to ensure the longevtiy of the BuildTak?
We recommend using a spatula or putty knife with smooth/rounded corners. Avoid using objects with sharp edges or corners that will accelerate the wear and tear of your BuildTak sheet and DO NOT use heavy duty solvents, such as acetone, to clean it, nothing stronger than rubbing alcohol.
Make sure the extruder nozzle for your FFF 3D printer is leveled and is NOT in direct contact with the BuildTak sheet. It is recommended to set your nozzle height to no less than the thickness of a standard sheet of office paper. When trying to achieve an optimal nozzle height, it is better to start with a looser nozzle height, run a test/leveling print and simply decrease the nozzle height in smaller increments until the test prints stick.
What are the best settings for nozzle height and bed leveling?
When it comes to nozzle height, we have found that there is a sweet spot that allows for optimal adhesion/removal of printed parts. When trying to find that sweet spot it is better to start with the nozzle height on the high side and run a test print where you pay close attention to the first layer of the print. You will know right away if the nozzle is too far because the extruded filament will not stick and in that case, no harm done to the sheet. Just reduce the nozzle height slightly and try again until it sticks. For setting the nozzle height (i.e. the distance between your nozzle and the BuildTak sheet) we recommend using the thickness of a standard piece of office paper (or about .1mm) for ABS and a piece of card stock (or about .2mm) for PLA. with just a little bit of friction. Proper leveling should also increase the longevity of the sheet because it will more than likely mean you will not be subjecting it to as much wear and tear in the removal of the object.
Why are my prints not sticking to the BuildTak?
This is generally caused when the extruder nozzle is too far away from the BuildTak sheet, try decreasing nozzle height slightly. Run a test print after each adjustment to confirm.
Why are my prints sticking too well to the BuildTak, making it difficult to remove the builds afterwards?
This can happen when the extruder nozzle is too close to the BuildTak sheet. Try increasing the nozzle height slightly and make sure the print bed is level. Make sure you run a test print. When printing with ABS, try to remove the builds immediately after completion, reheating the heated print bed (for ABS) will also help to release larger builds that are sticking too well. Please note, a heated bed is not required for printing with PLA or removing parts printed with PLA.
What Materials work with BuildTak?
Works with ABS, PLA, HIPS, PET+, Brick, Wood & Flexible (TPE) filaments; additionally we have had success with getting nylon and t-glase (PETT) to adhere when used with a thin layer of washable glue stick on the BuildTak surface.
Vi tager forbehold for pris-, tast- og trykfejl.
Tekniske specifikationer
Brand
BuildTak
Bruttovægt
0.1 kg
EAN
0634654248695
På linket nedenfor, finder du en mappe med alt dokumentation for 3D printere, filamenter mv. Den vil løbende blive opdateret
Du kan få leveret din ordre til en valgfri GLS pakkeshop, privats- eller erhvervsadresse.
Vi leverer din ordre fragtfrit til en valgfri GLS pakkeshop, hvis du bestiller for over 399 kr.
Du har mulighed for at vælge afhentning i butik. Når du modtager en mail med at din ordre er færdig pakket, kan den afhentes indenfor vores åbningstider, som er mandag til torsdag 9-17.00 og fredag kl. 9-16.30 på vores adresse Amalienborgvej 57 i Nørresundby.
Vil du vide mere om vores returregler, læs dem her
Vi ser frem til din ordre 😍

Kundeservice
Email: info@3deksperten.dk
Telefon: +45 30 20 22 17
Mandag til torsdag: 9:00 - 17:00
Fredag: 9:00 - 16:30

BuildTak 3D Print Plade - 165x165mm (Ex. SpiderMaker, P120)
Du kiggede tidligere på
Se hvad vores kunder har skabt

Annette

Brian
Jeg har 3D printet en rampe som gør det muligt at min robotstøvsuger kan køre ud på badeværelset for at støvsuge og derefter vaske gulvet. Der er et lille trin eller fordybning i gulvet på cirka 3 cm. Så jeg 3D printet en rampe hvor jeg tænkte jeg laver det i lidt små sektioner så jeg kan skifte filament sådan at det så lidt mere spændende ud. Samtidig laver det også nogle riller i selve rampen sådan at hjulene har noget at gribe fast i når den kører op.

Jan
Jeg har 3D printet en rampe som gør det muligt at min robotstøvsuger kan køre ud på badeværelset for at støvsuge og derefter vaske gulvet. Der er et lille trin eller fordybning i gulvet på cirka 3 cm. Så jeg 3D printet en rampe hvor jeg tænkte jeg laver det i lidt små sektioner så jeg kan skifte filament sådan at det så lidt mere spændende ud. Samtidig laver det også nogle riller i selve rampen sådan at hjulene har noget at gribe fast i når den kører op.

David
GTA VI Dørskilt

Christian
Krans til halloween

Heidi

André
Grey Alien

Niels
Eksempler: Beslag, køkkenudstyr, pyntegenstande, figurer, påskepynt, julepynt, vaser, lamper, urer, lysestager, æsker, hylder, hjælpemidler, apparater, drejeplatforme, fotostativ.

Jacob
Den store jule lampe x2
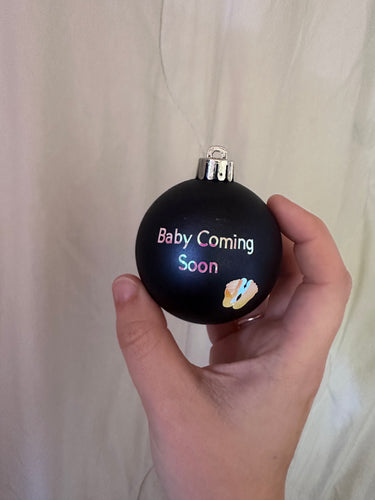
Amalie
Fint vinyl cut lavet til julekugle

Henrik
Lampeskærm 17,5 cm høj og diameter i bunden 25 cm

Henrik
Gulv Lampe Måler 1 meter høj og 21 cm i diameter

Henrik
Hirtshals Fyr, printet i målestok 1:50 Printet måler 70 cm høj og har en diameter på 21 cm

Lasse
Printet i PLA
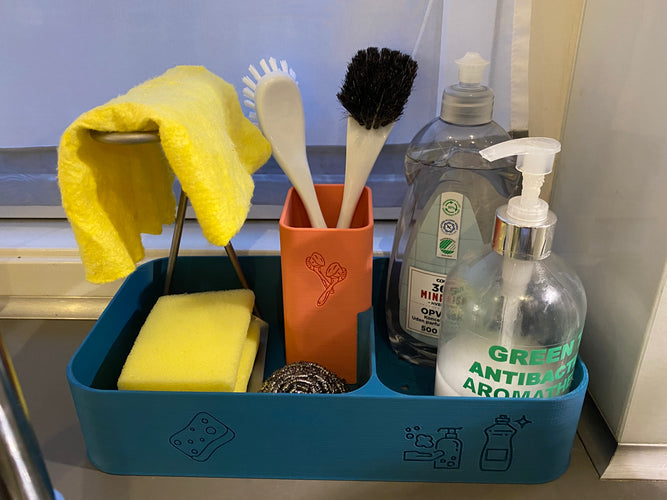
3Dkat
Kitchen organizer. PLA filament
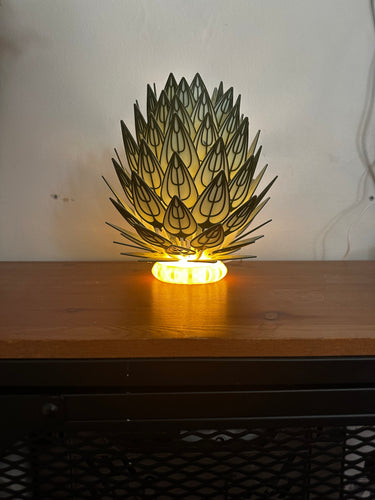
Kasper fra Tylstrup
En bordlampe. PLA filament

Tore fra Midtjylland
Det er en ion-motor. som kan skabe "vind" unden nogen bevægelige dele. PLA filament.

Mikael fra Herlev
Påskeliljer med vase. PLA filament.
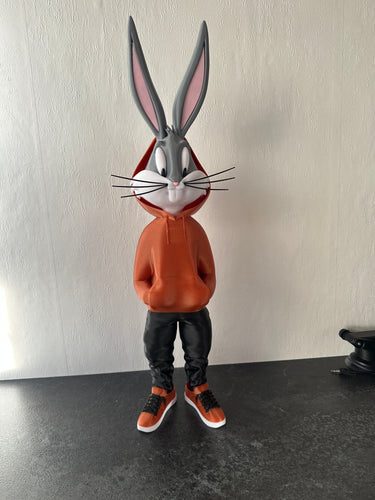
Benjamin fra Pandrup
Bugs bunny - 1 meter og 25cm høj. PLA filament.

Michael
En smuk lampe som selv konen kan lide. Der er brugt ca. 3 kg. filament. - PLA filament.
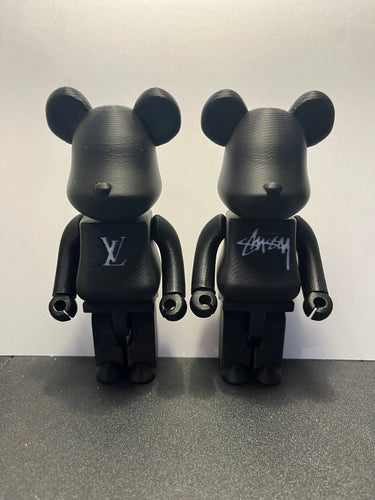
Carl fra Svenstrup J
To figurer med de kendte logoer Louis Vuitton og stussy. PLA filament.
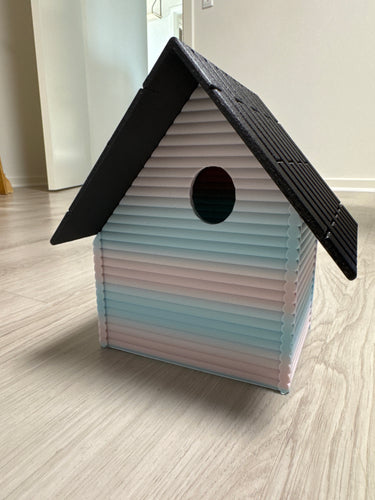
Mette fra Esbjerg
Mit første design. Har fået navnet Nulpkt. Jeg er stolt og jeg syntes det er faktisk det er okay. Jeg har designet til mellemstore fugle. Diameter på 32 mm hul, så musvitter kan bruge det. Printet i PLA og Carbon Fiber PLA filament.
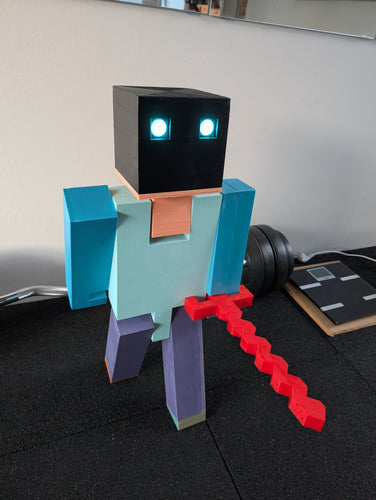
Kim fra Nyborg
Egen fortolkning af en Minecraft Steve en meter høj 4 Kg lys i øjnene. PLA filament.
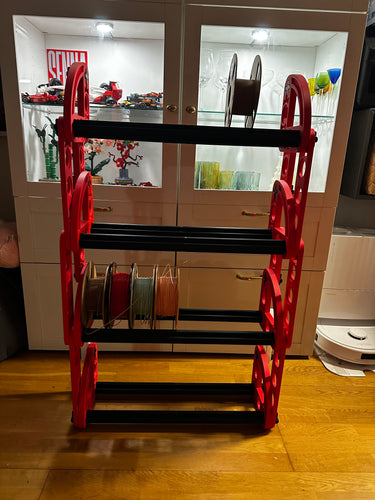
Kasper fra Tylstrup
Filament reol, i kæmpestort LEGO teknik. PLA filament.
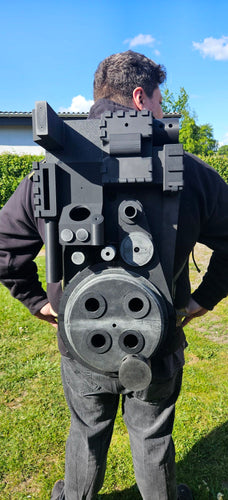
Daniel fra Silkeborg
Proton pack Fra Ghostbusters!(Før den bliver malet). Printed i PLA.

Mikael fra Herlev
Minions Bob og Kevin. PLA filament.

Rolf fra Vamdrup
Lidt søde Labubu figure. PLA og PETG filament.
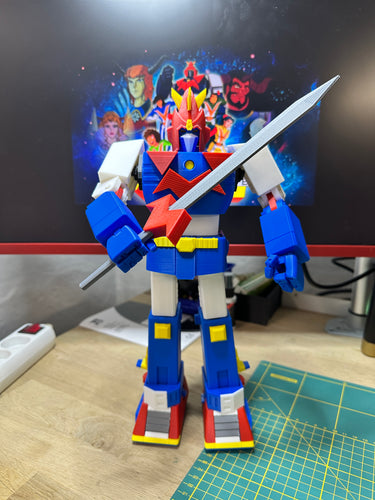
Brian
PLA filament.
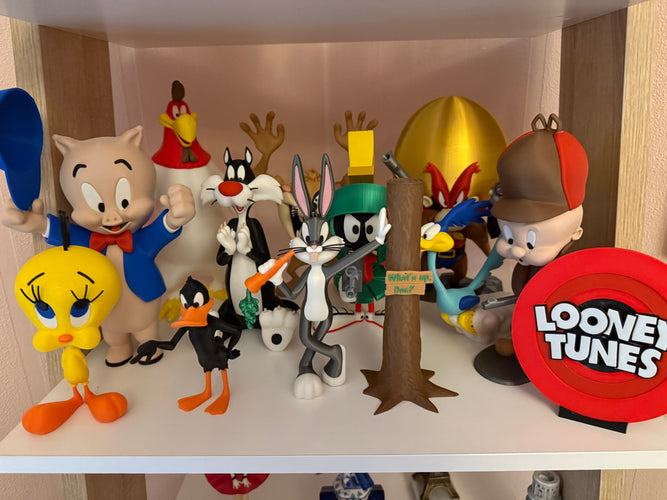
Brian
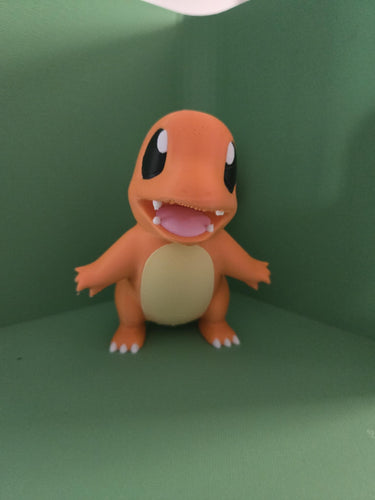
Allan
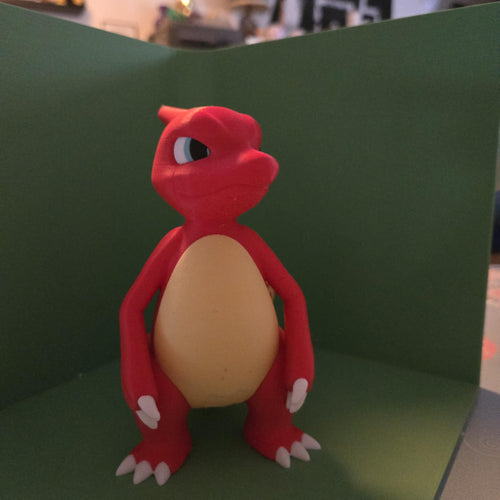
Projekt Pokemon 151. PLA filament.
Allan
Projekt Pokemon 151. PLA filament.

Morten fra Nørresundby
Golden Pikachu. PLA og PETG filament.
Kresten fra København
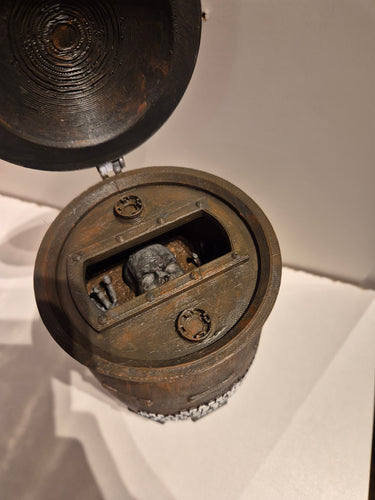
Tønden fra "The Return of the living dead" som indeholder zombien "The Tarman". PLA filament.
Alexander fra Birkerød
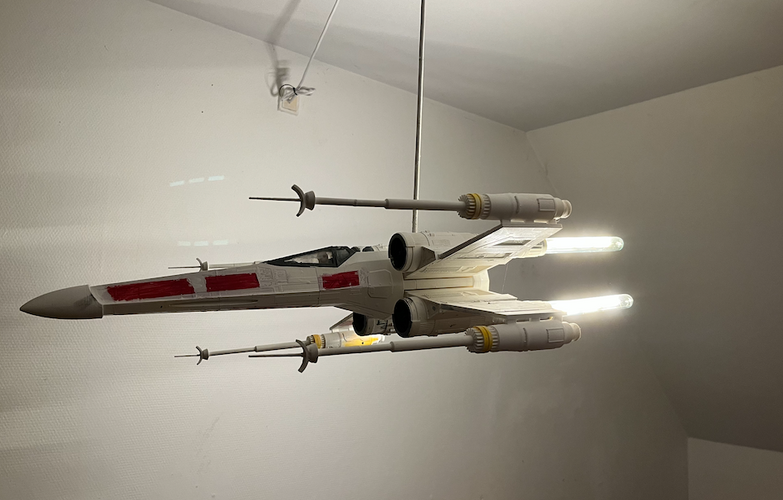
X-Wing fighter - med tubelys som motor. PLA filament.
Kresten fra København
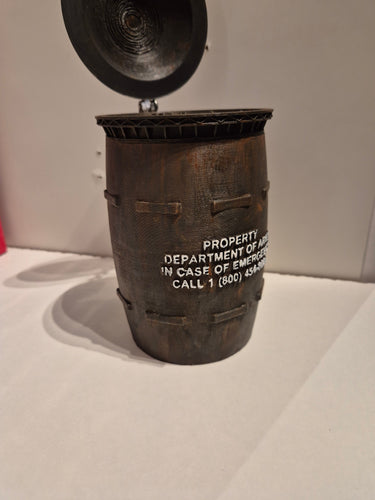
Tønden fra "The Return of the living dead" som indeholder zombien "The Tarman". PLA Filament.
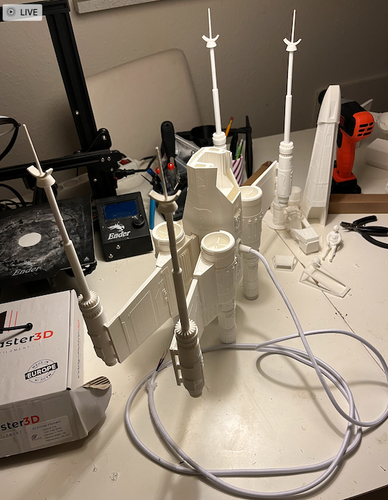
Alexander fra Birkerød
X-Wing fighter - med tubelys som motor. PLA Filament.
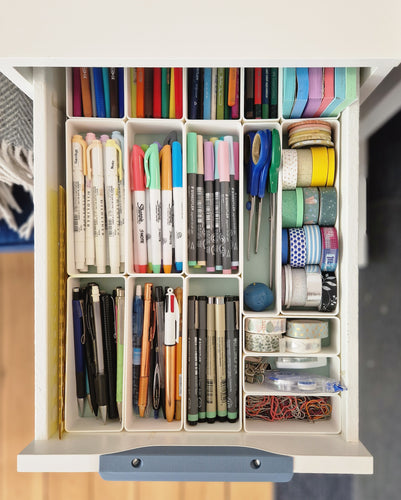
Jule fra Aalborg
Skuffe indsatser til at huse de mange skriveredskaber jeg ejer. Nemme at tage med til arbejdsbordet og gør det nemt at rydde op igen bagefter. Eget Design. PLa Filament.
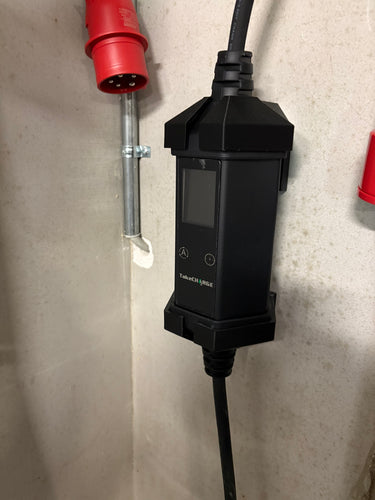
Casper fra Nordjylland
En holder til min mobile elbilslader, hvor den øverste del kan tages af, således man kan tage laderen med sig ved behov. PLA Filament.
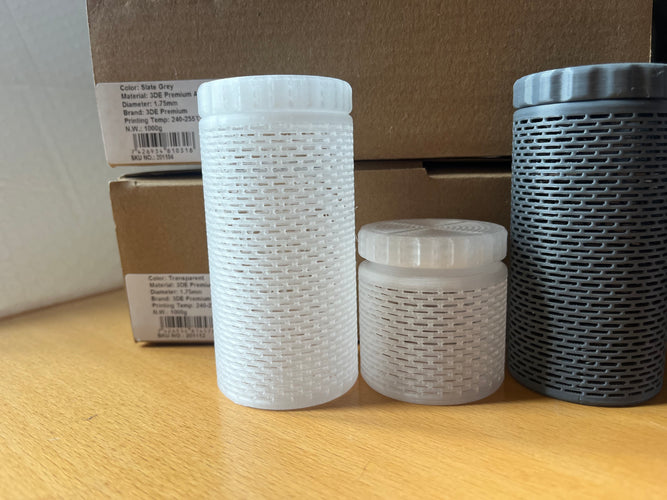
Jesper fra Kerteminde
Beholder til Silica Gel Beads i 3DE Premium ABS. Begge dele printet på en Bambu P1S.

Torben fra København
De “originale” (gamle) Settlers brikker. PLA Filament.